How to connect the camera to the PC via LAN cable so that it is recognized?
The SMTAV camera has a default IP address which is 192.168.100.88.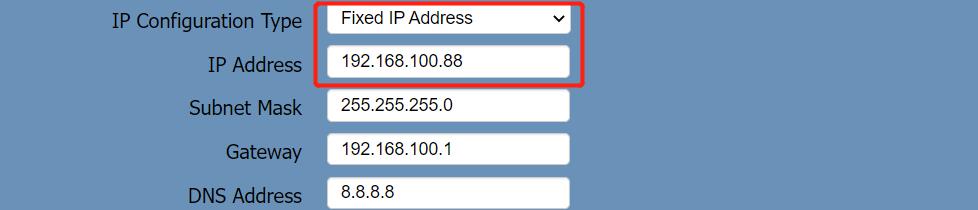
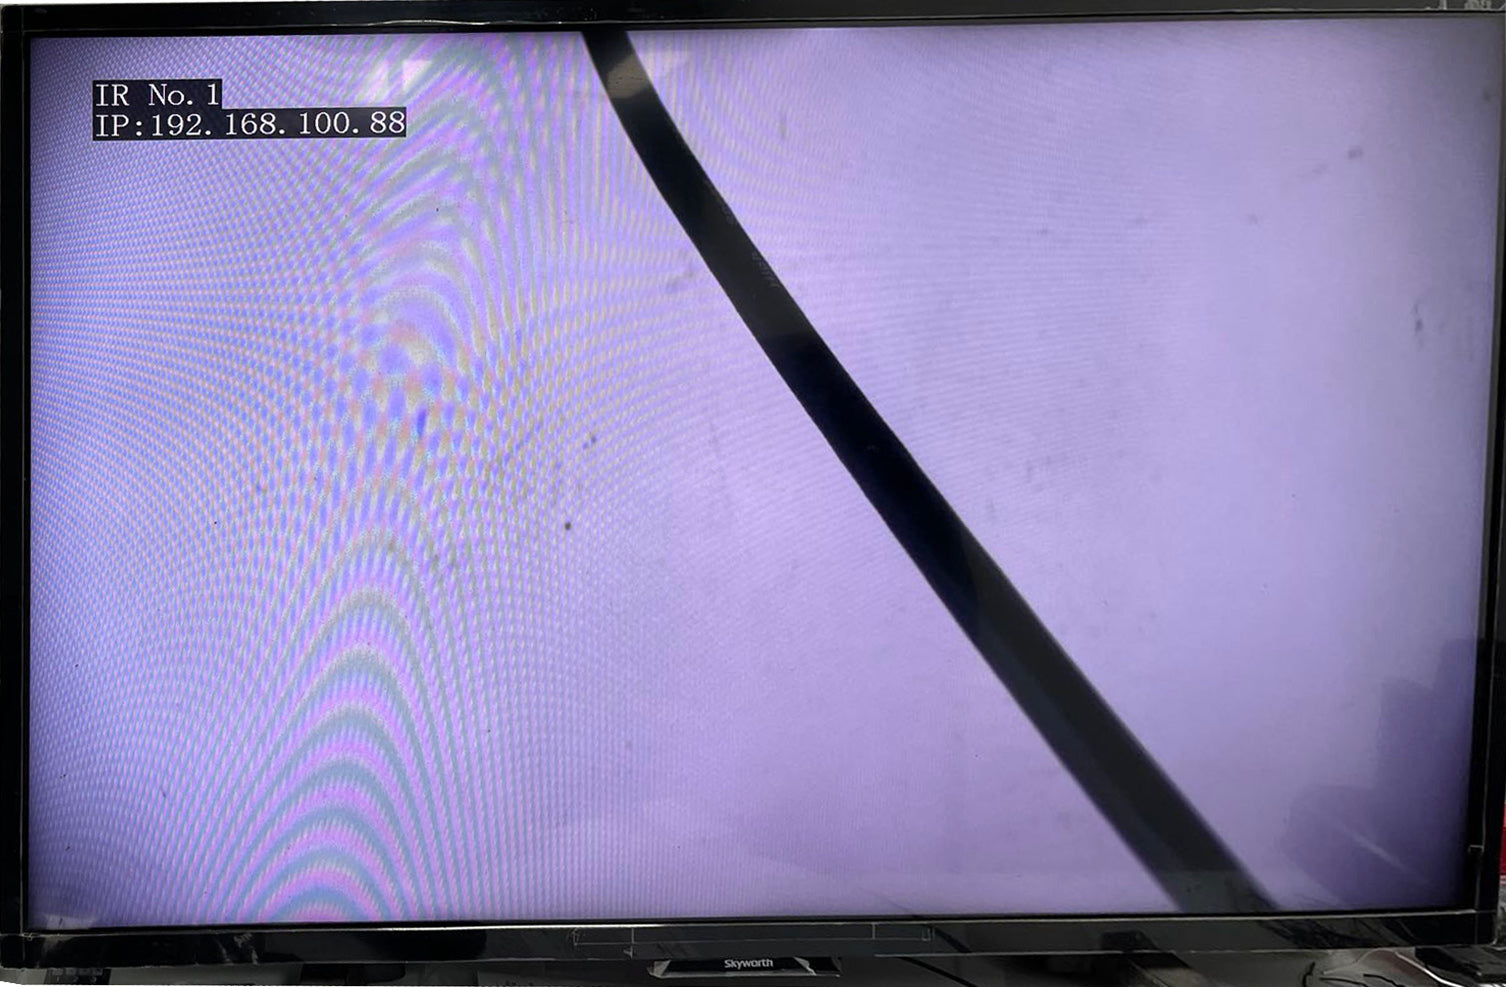
If you have connected the camera's HDMI to a monitor or display device. When the camera starts up, the IP address of the camera will be displayed in the upper left corner of the screen.
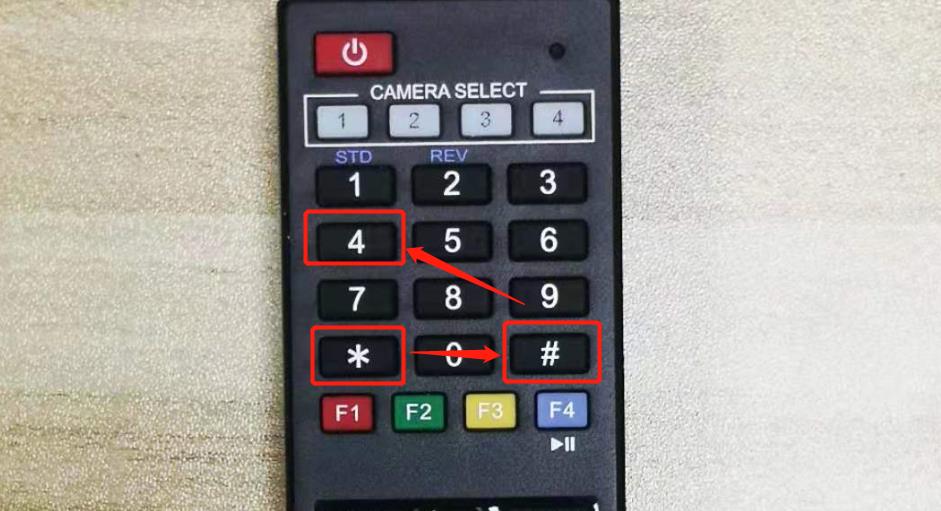
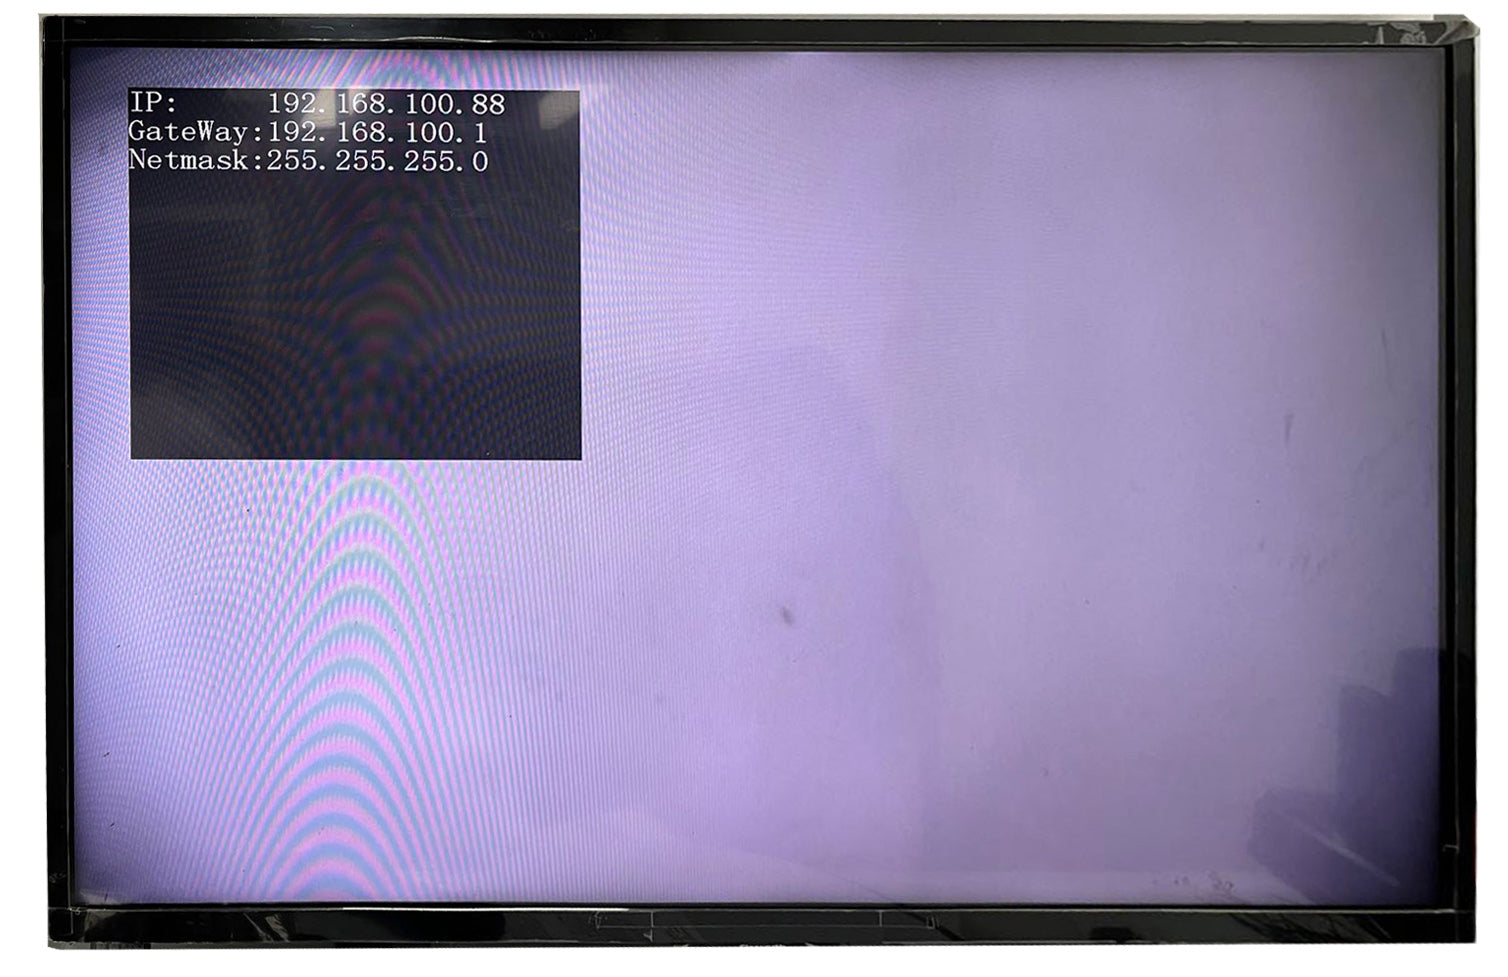
If the camera is already turned on, you can press the * # 4 button in sequence on the camera's remote control, the camera's IP address, gateway and subnet mask will be displayed on the display screen
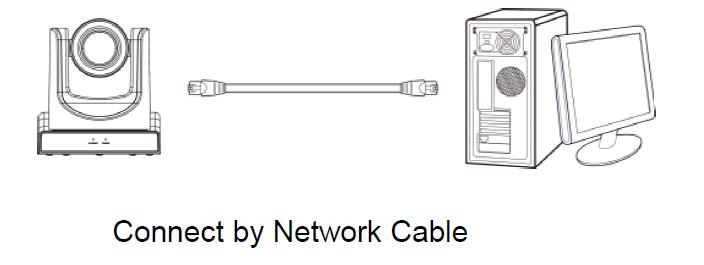
Connect the camera directly to your computer through a network cable (if your computer has an RJ45 interface), or connect the camera to your router, and then connect your computer to the router through a network cable or WIFI(wireless).
NOTE: Depending on your conditions or needs, either method will do.
1. Connect the camera directly to your computer through a network cable
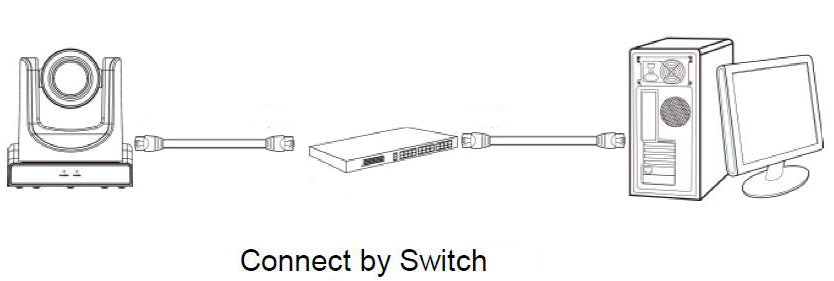
2.Connect the camera to your computer via a switch or router with network cable
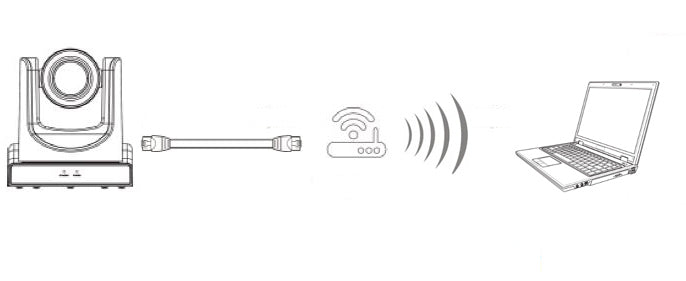
3.Connect the camera through a switch or router with a network cable, and connect your laptop to the router through WIFI (wireless)
Change your computer's IP address to 192.168.100.xxx (xxx is an integer from 2-254 except 88)
You can refer to: How to configure TCP/IP Properties of the Wireless Connection on my computer (Windows XP,Vista,7,8,10,Mac) to Access SMTAV IP Cameras?
Here is a detailed guide on how to set your computer's IP address to 192.168.100.xxx(xxx is an integer from 2-254 except 88)
If you need to discover the IP address of your computer, you can do so by using command prompt for Windows or Terminal for Macs.
To do this on a PC, you would type “CMD” into your search bar in the Windows menu. You should see a black box pop up with the ability to type in the box. If you type “ipconfig” and hit “Enter” on your keyboard you will see a bunch of information pop up in your command prompt.
On a MAC or Linux computer, type "ifconfig" in the terminal and hit enter.
NOTE:After setting your computer's IP address to 192.168.100.xxx, you may temporarily lose access to Ethernet. But this is only temporary, we will change it back when we finish setting up the camera.
Then use a web browser to access the IP address of the camera (192.168.100.88), and you will be prompted to enter the user name and password. The initial username and password are both admin
After entering the correct username and password, and hit enter key on your keyboard, you will open the camera's WEBUI
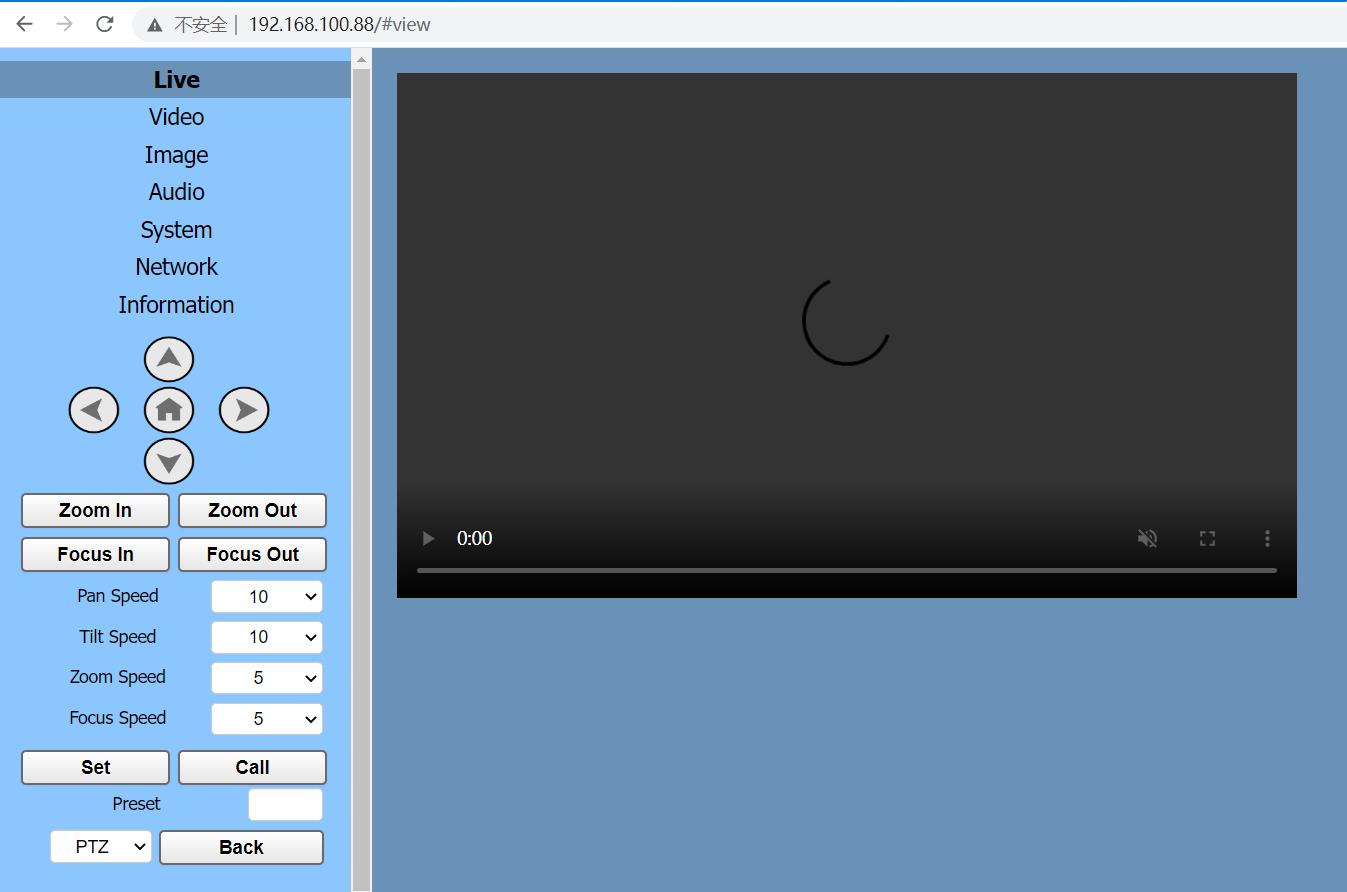
In the NETWORK tab of the camera's WebUI, you can change the camera's IP address, subnet mask and gateway. then click “Submit” and restart the camera(turn off then on).
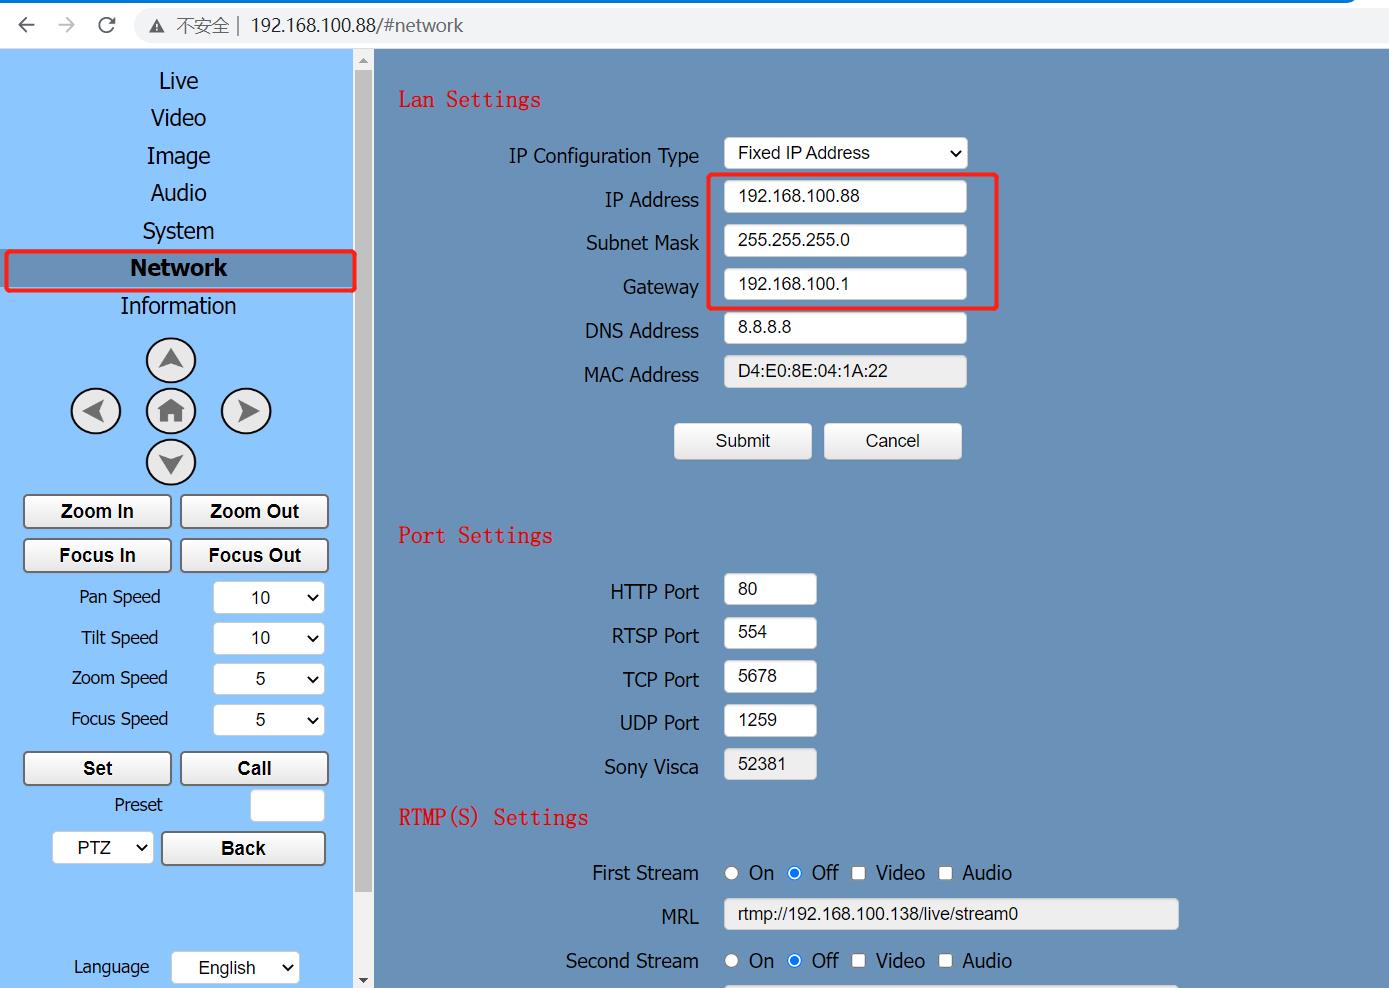
NOTE:It is better to use a fixed IP address, because if you set it to a dynamic IP address, the IP address of the camera will be reassigned every time the camera restarts.
If you want to access both the external network and the camera, you need to change the camera's IP address to the address range allowed by your router.
If you have multiple cameras, please set them one by one, and each camera should be assigned an IP address, which cannot conflict. After the setting is completed, connect them to the network together.
After changing the IP address of the camera, please use the same method to set the IP address of your computer to the original address or enable DHCP.
Controller – no address connection – connected to switch with POE cable – connection light yellow
IP 192.168.1.20,
Cam 1 192.168.1.21, Cam 2 192.168.1.22
MBP- 192.168.1.66
Gateway- 192.168.1.1 (.192.168.1.254 from computer doesn’t work.}
Just did update on Hsility controller – now WORKS. Yeah. Connection to switch still yellownd “cancel” still misspelled “cacel” Would have expected correction in update … 8-(